Plan & strip5 min read
Stripping out and rust prep
Get back to clean metal without wrecking what you will keep. Rust treatment, sound deadening and the order that saves rework.
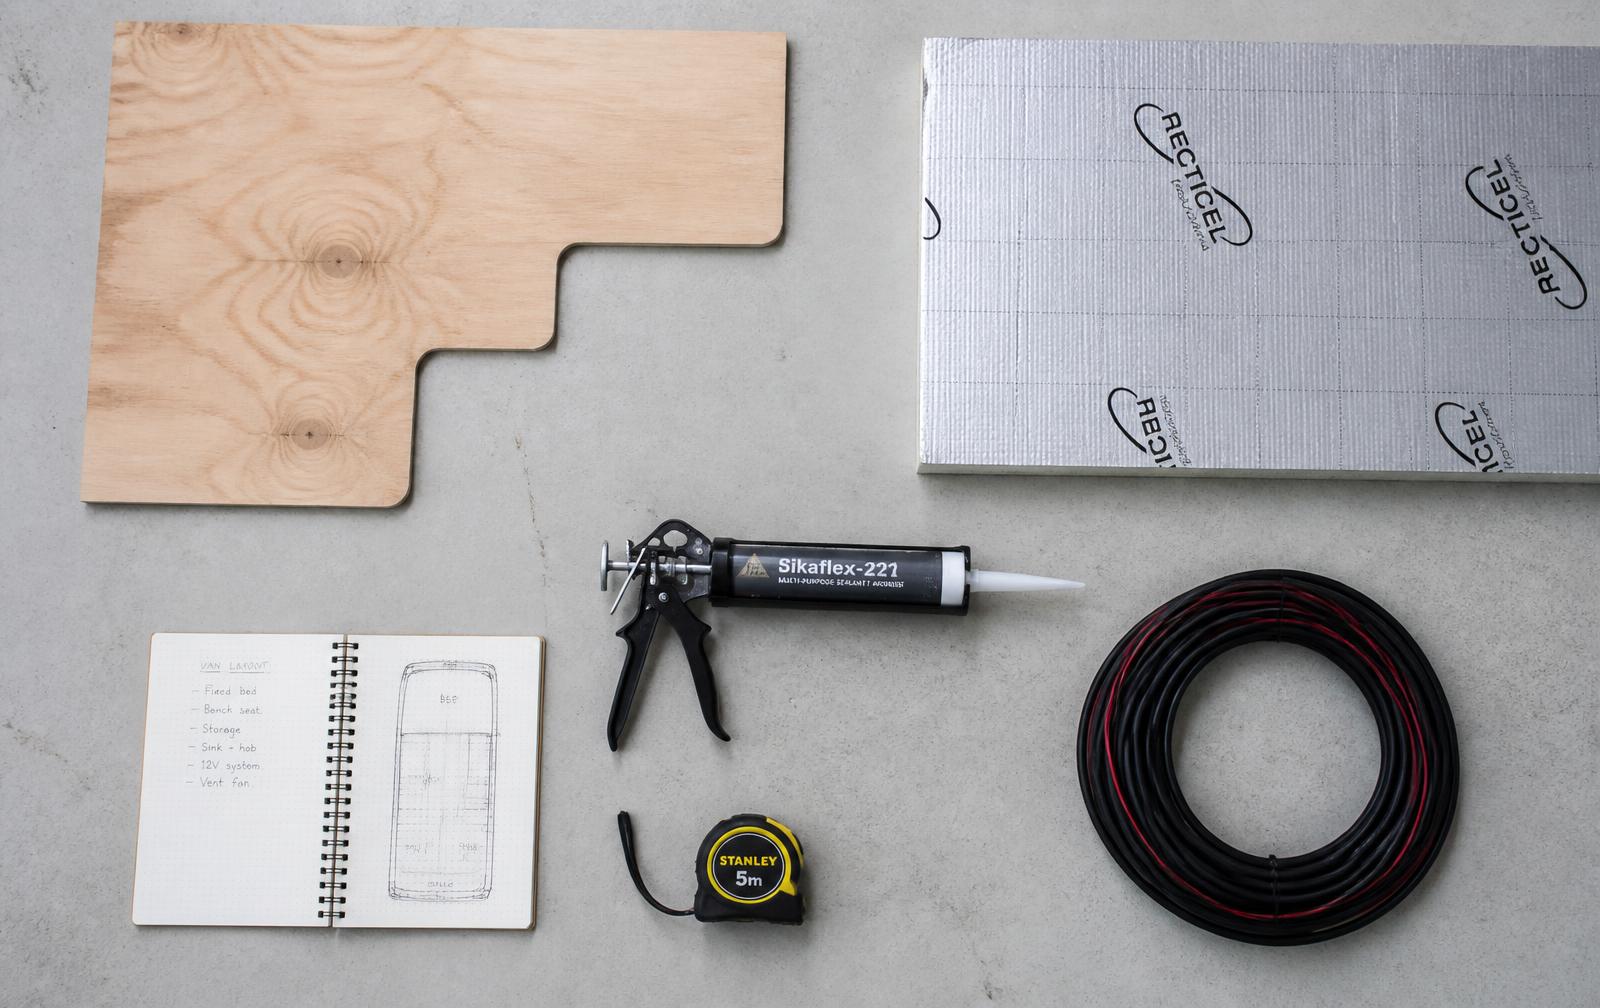
Empty does not mean careless
Strip-out is tempting to rush. You want to see progress. The vans that go well later are the ones where someone labelled looms, bagged fasteners and photographed every bracket before it came off.
Keep what you might reuse: seat bases, load points, OEM trim clips. Bin only what is rotten or in the way of a decision you have already made.
Rust, honestly
UK vans rust. Look at door bottoms, slide-door tracks, wheel arches, underbody seams and anywhere water sits. Treat what you find before insulation. You will not get a second look at that panel once the walls are closed.
Wire-brush, treat, prime. Do not paint over soft metal and hope. If a section is gone, repair it properly or budget for a welder.
Sound deadening
A light covering on large flat panels takes the boom out of the body. Full coverage is mostly extra weight. Aim for about a quarter to a third of each big panel, pressed on clean, warm metal.
Underbody and floor
If you are lifting the floor, clean and protect the metal while it is open. Underseal after, not before you have finished drilling for tanks and heaters. Every new hole is a new place for water to start.
Strip-out is the cheapest time to be thorough. Everything after it costs more to undo.
Figures in this guide are planning estimates. Confirm weights and prices against real products, and have gas and electrical habitation work signed off by a qualified person.
Turn this into a build plan
Twelve questions about how you will actually use the van. Out comes a schedule, cost ledger and payload budget sized to your van.
Start the plannerBrowse Strip-out kit
Budget, mid and premium options with weights and honest price ranges.
Open the component library ›